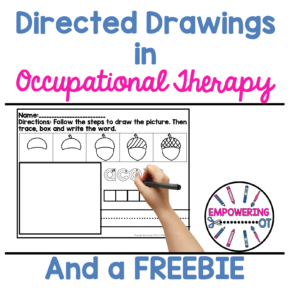
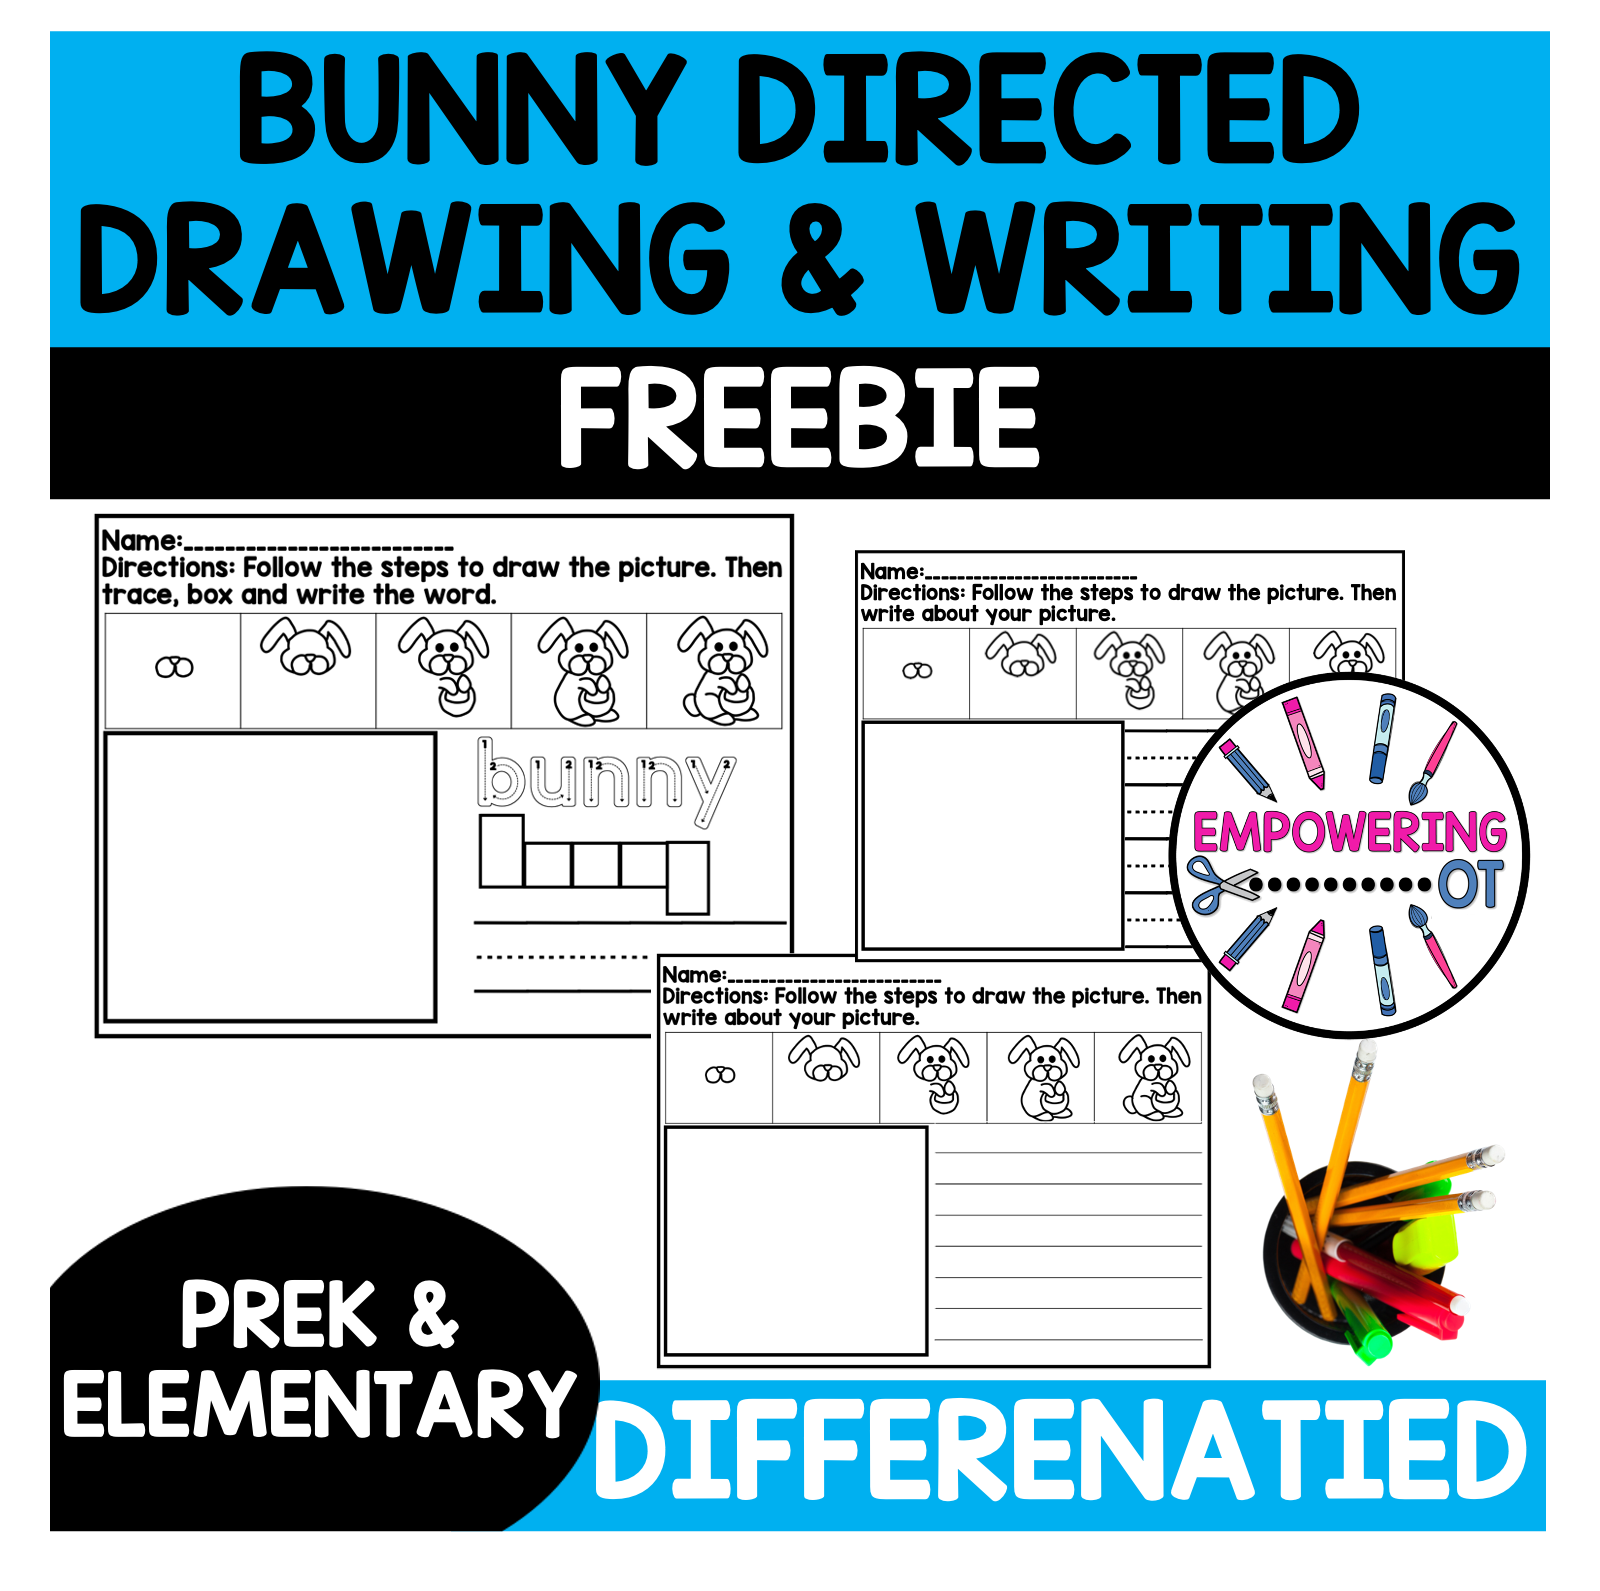
Directed drawings are absolutely one of my favorite things. Honestly, if you haven’t used directed drawings, you should start as they target SO many of the skills that students need to work on! CLICK here to sign up for my FREEBIE library and get your own, FREE BUNNY directed drawing.
What are directed drawings?
Simply put, directed drawings are step by step drawings. They can be as simple as a few steps or as complex as 15+ steps.
What skills can you work on?
Visual motor skills: Students will be working on using their eyes and hands together to draw pictures.
Visual-spatial skills: Students need to perceive where they are drawing the objects/lines. While they are drawing, they will need to judge whether the lines go next to, above, or below the drawing.
Motor planning: Students will have to work on planning novel strokes and sequences. They will need to coordinate which way and how to draw shapes/lines. Students will have to judge how much or how little force they much use and how long /short lines will need to be drawn.
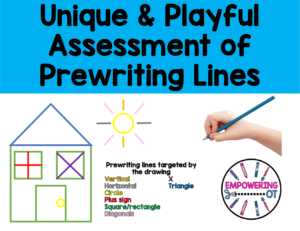
Pre-writing strokes: If a student is working on prewriting lines and circles (see blog post here on the development of prewriting lines), you can make lots of drawings working on prewriting lines. One of my favorites is a house (see blog post) and others such as a happy face, grass, donut, or sun.
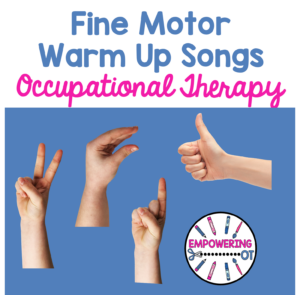
Fine motor skills: Students will work on hand strength (to hold a pencil/crayon/etc).
How can I work on directed drawings with kids?
- Make sure students are sitting with their back supported, feet flat on the floor and forearms supported.
- Face your child so that they can see what you are drawing.
- Draw the picture mirror or backward so that your child does not have to flip the picture to draw it.
- Draw the steps one small step at a time.
- Some kids benefit from minimal language. Other students may benefit from you explaining what you are doing. (ie: I am making one small curve….I am making a big circle).
- If a child is having a hard time completing a step, ask the child if you can use a highlighter to show how to complete the step. Have the child trace the highlighted line.
- Allow your child to have leeway. The picture does not have to look perfect. You should allow your child to complete the picture with their own artistic flair.
- If you want to work on visual perceptual skills, have your child compare your picture with their picture. Discuss the differences between the two pictures (Differences are okay!). Have your child describe what they see on each picture. (Which picture is bigger? Is your circle bigger or mine? Which way is your arrow pointing?)
- If your child is having difficulty because their picture does not look the same as yours, discuss that mistakes are okay. Make a few mistakes to show your child that it is no big deal!
- HAVE FUN!
If you are looking for NO PREP directed drawings, I have a FULL YEARS WORTH ON SALE for over half off! Click here! This includes differentiated writing including letter boxes, 3 lined paper and single lined paper. This is great for different age levels.
If you are looking for individual packets of directed drawings, I have individual packets as well: