
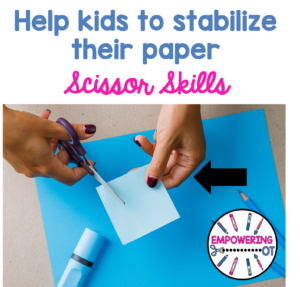
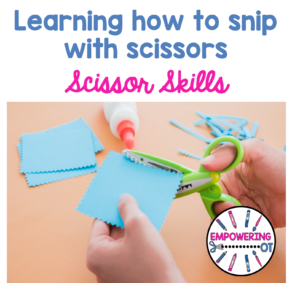
Scissor skills are a very important skill for children. To use scissors, children need many skills including bilateral hand use (ie: leading hand and supporting hand), flexion/extension of their fingers, wrist/forearm stability and the ability to keep forearm in neutral.
Once children master flexion/extension of their fingers and the ability to snip, the next step is their non-dominant hand placement to help move the paper to cut the line or turn the paper to cut shapes. This can be a tough skill to teach.
Difficulties you may see when students are learning this skill:
- The student not holding the paper tight enough or too tight with their non-dominant hand. This could be related to proprioceptive ability and motor grading.
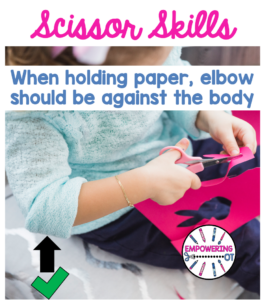
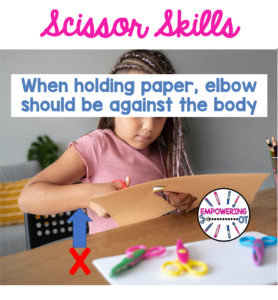
- Difficulty moving the paper towards them. You may see students holding their arms straight out the further they cut. This is because they are not bringing the paper towards their bodies when cutting.
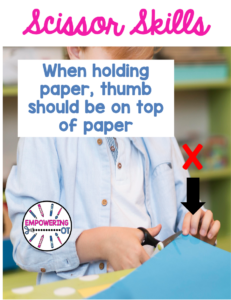
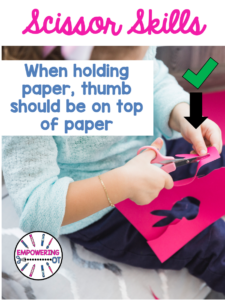
- Holding the paper with their non dominant hand with the thumb under the paper instead of on top of the paper. This makes it very difficulty to turn the paper.
- The student opening / closing their non-dominant hand when attempting to hold the paper. They may sometimes rip the paper in the process. This can be related to motor overflow. This could also be a sign that they have difficulty with scissor skills and need more practice.
So how do we help children with their non-dominant hand placement?
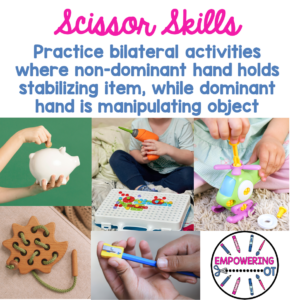
- The first thing I recommend is a lot of bilateral hand use activities involving support/lead movements. For example, activities that involve the dominant hand manipulating items and the helper hand holding items. Examples of activities include beading, putting coins into a piggy bank, shape sorter.
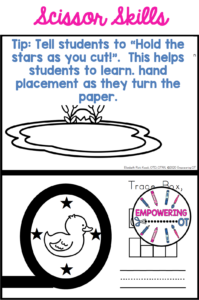
- One of my absolute favorite tips to support a child with hand placement is I recommend is visuals of hand placements for the non-dominant hand. Students need extra visual support to understand where their hand needs to hold the paper as they continue to cut across a line or around a shape. This is very easy to adapt to any cutting task you are doing. You can simply put stickers or draw dots/shapes along the edges of the shape /line . You can then prompt the student to, “Hold the next sticker/shape/dot”. I have pre-made cutting pages that practice this skill for both left and right-hand cutters here.
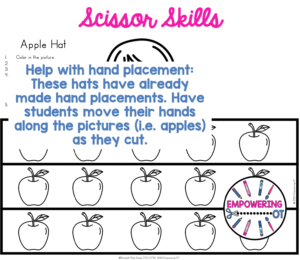
- In addition, my resource of differentiated hats practices this skill by having pictures with visual cues to hold pictures, check it out here.
- This type of accommodation (visual supports for hand placement while cutting) could potentially be included as an accommodation in an IEP as well. Check out my blog post on 35 accommodations!
- Use specific verbal prompts to help the student when they are turning their paper. I will use the prompt “One hand hold the paper and the other cuts”. I also say “Our scissors stay straight and our paper turns”.
- To help students with the extension of their arms while cutting due to the fact that they are not moving the paper in towards their body, place a folder under their dominant arm’s elbow. Instruct the student to not let the folder drop. This indirectly supports students to hold their arms at their side while and move the paper with their non-dominant hand.
Looking for more scissor skill tips? Check out my blog post about learning how to snip!


One Comment